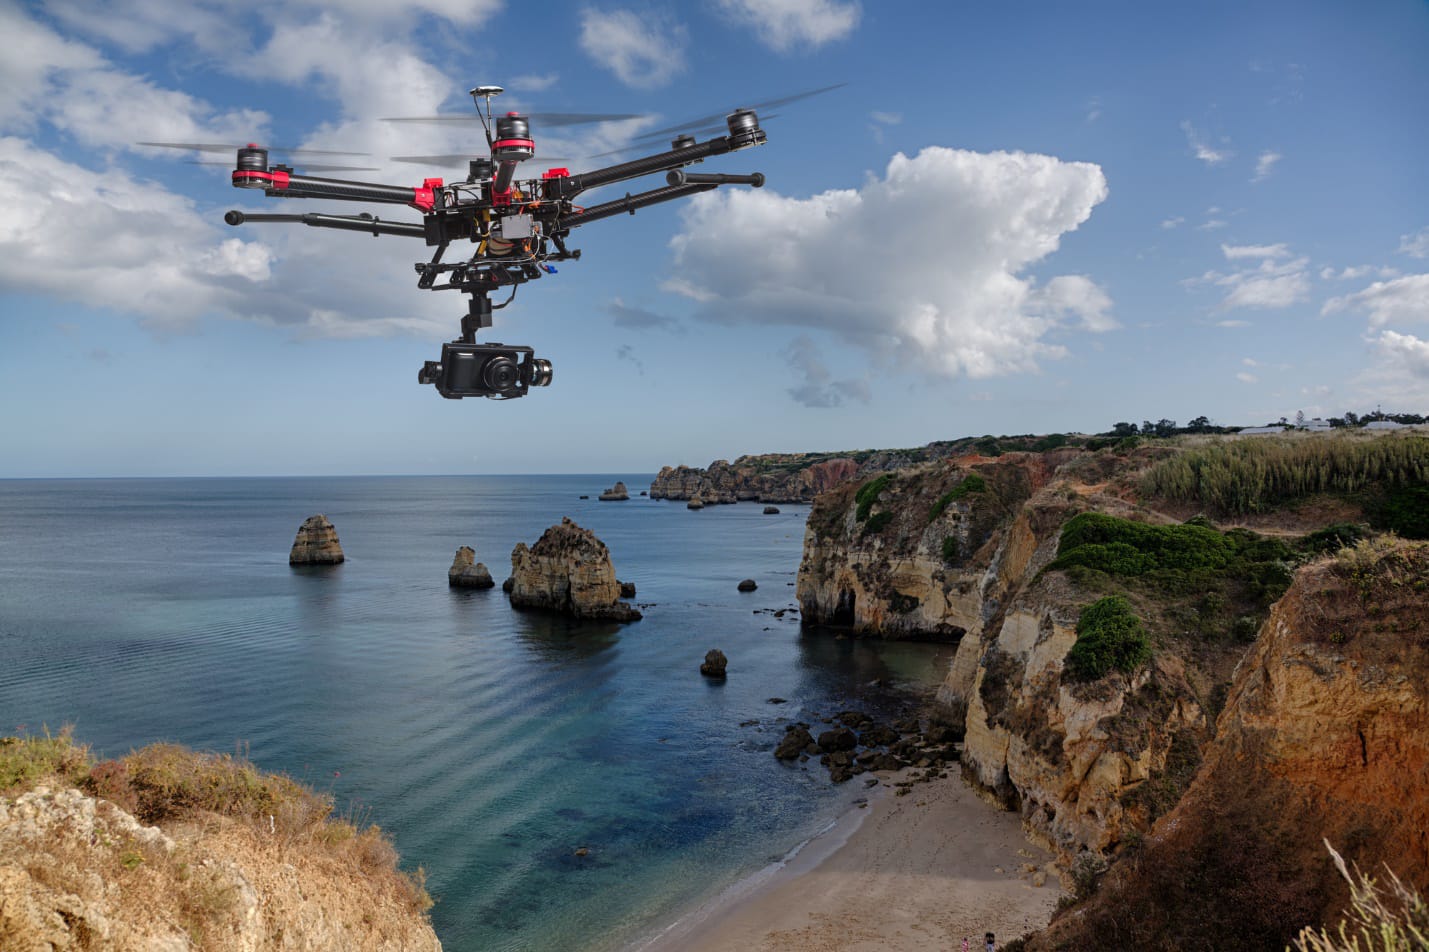
Last year alone more than five million drones were sold worldwide and this figure is set to continue rising! The popularity of drones among consumers is absolutely understandable. They offer you a great way to explore and capture the world from another perspective.
In fact, drones are making high-quality aerial photography more accessible as both a career and a leisure activity. Professional drone photographers can make up to $350 per hour. So if you’re thinking about turning your hobby into a career you could make some serious cash.
Whether you want to use your drone professionally or not, it’s important to understand how to get the most out of its photography. This will help you transform your photographs into something truly spectacular so that you can enjoy the views you love all year round.
Want to know more about creating high-quality aerial photographs? Then read on to find out our top tips for perfecting your aerial photography.
Take the Time to Plan Your Photography Trips
If you want to improve your aerial photography then what you do before your drone leaves the ground is essential. The majority of high-quality drones can stay in flight for 20 minutes at a time. So planning ahead ensures that you can make the most of your shoot while your drone is in the air.
Planning where you want to fly your drone is a good place to start. This might be based on recommendations from other photographers or it might be a place that means a lot to your personality. When choosing a location, you should think about:
⦁ How diverse the landscape is
⦁ Whether there are any landmarks that you would particularly like to capture
⦁ When (or if) the location will be particularly busy
⦁ Whether or not there are any obstacles that might make your drone’s flight more challenging
It is a good idea to check an up-to-date map of the area that you are planning to photograph. This will highlight any areas that might be particularly interesting to explore so that you can plan your drone’s route.
Think Carefully About When You Fly
Once you know where you are going it’s a good idea to think of when you want to fly. This depends on what sort of photos you would like to get and the light source that you are planning on using.
Natural light is your ideal light source for aerial photography. If you are planning on shooting in the daytime, then the time that you shoot can have a big impact on the results of your photographs. Here are our top rules for photography lighting during the day that you should keep in mind:
⦁ Lighting in the morning or later hours of the day is soft and provides a lot of contrast
⦁ The golden hour for shooting landscapes occurs as the sky is shifting from red through to orange and yellow (this will be a different time depending on the time of year that you are shooting at)
⦁ At midday, the sun is too bright to create contrast in your images so you should avoid shooting at this time
⦁ When the sky turns blue (also known as the blue hour) this is the best time to photograph urban or city landscapes
Obviously, if you are planning to photograph a sunrise or sunset then you need to plan around this. Make sure that you allow plenty of time to arrive and get your drone in position before the light is at its most dramatic.
If you do want to shoot during the nighttime you will need to use artificial lightings, such as large lamps, flashlights, and pole lights. This is obviously the best time to capture images of the night skies, in which case you can leave the artificial lighting at home!
Pick the Right Telephoto Lens to Use
Whether you are using a Mavic 3 Fly More Como drone or something else, the telephoto lens that you use is key to getting great photos. The right lens for you depends a lot on what you are planning to photograph.
If you are planning to take wide-ranging landscape shots then an EF 16-35mm f/2.8 lens is ideal. In comparison, if you want to be able to capture wide shots and close-ups, you should use EF 24-70mm F/2.8 or RF 28-700mm F/2 lenses.
If you want to get great shots just before or after sunrise then you will be working with fairly low light. In that case, you’ll want an EF35mm f/1.4 lens for wide shots or an EF50mm f/1.2 lens for tighter shots.
If you want to create depth and texture in your photographs then it is worth checking out EF 100–400mm f/4.5–5.6 lenses.
Choose Your Camera for Aerial Photography Carefully
Choosing a good lens is important but to make the most of this you also need to be using the correct camera. Some drones come with built-in cameras or you can secure your own camera onto them. Whichever you choose to do, you should always check the specifications of the camera you are going to use before buying it.
So, what should you look for in a camera for aerial photography? Well, you should always look for a fast shutter speed (of at least 1/1000 of a second) and high resolution. Ideally, you also want a camera that offers a compelling processor and that can work with high-speed lenses.
When you first start using your camera, this will probably be put on automatic settings. These are fine but they’re fairly basic and can restrict your photographic options.
Using a high ISO range (of 2000 or more) will ensure that your camera can focus easily even with a fast shutter speed and changing light conditions.
This can take a little getting used to so play around with finding the balance between your camera’s aperture, shutter speed, and IOS.
Start Small and Work Up
Speaking of playing around with your drone’s camera, this is a good idea when you are first starting out. Practising with your camera in simple settings will help you to perfect your techniques. This means that when you do go on a big photography trip, you can be sure that you know how to get the shots you want.
While you are testing out your aerial photography skills, make sure you keep a note of the settings that you’ve used. You should also keep a record of the date and time of day that you were shooting at. That way when you look back at the results you easily see how to replicate the conditions of your favorite shots again and again.
Keep an Eye on the Weather
As discussed earlier, the lighting conditions of your shoots will have a big impact on the results. But the time of day isn’t the only thing that can affect these. Changes in the weather can also cause sudden and dramatic lighting changes.
This is why it is important to check the weather forecast for any shoots that you are planning. If bad weather is forecast then you don’t have to cancel your trip entirely.
In fact, dramatic weather can produce stunning photographers.
However, it is important to check that the lens you are using will work with the lighting conditions available.
If it is going to be cloudy then you may want to switch to a lens that can handle low light conditions better.
Of course, if there is a weather warning, particularly for strong winds or lightning, then it might not be safe to fly your drone that day. In that case, it is a good idea to reschedule your trip for another time.
Shoot Now and Review Later
Often when you are shooting it can be tempting to keep checking the photographs that you are capturing. However, it is more important to make the most of the shooting time that you have. After all, your drone only has limited battery life.
Taking plenty of shots means that you will have more photographs to choose from when you come to review them. So it won’t matter if not every single shot works perfectly.
To maximize the variety of shots that you get, you can try out your drone’s bracketing or live photo functions. This means that they will automatically take multiple photographs of the same scene so that you can find the perfect perspective.
Improve Your Aerial Photography With These Top Tips
When it comes to capturing aerial photographs, there are plenty of things you can do to ensure that yours are spectacular. Keeping these tips in mind will help your aerial photography come on in leaps and bounds in no time at all!
We upload brilliant lifestyle and leisure advice every single day. So keep scrolling now for more tips, tricks, and inspiration.


