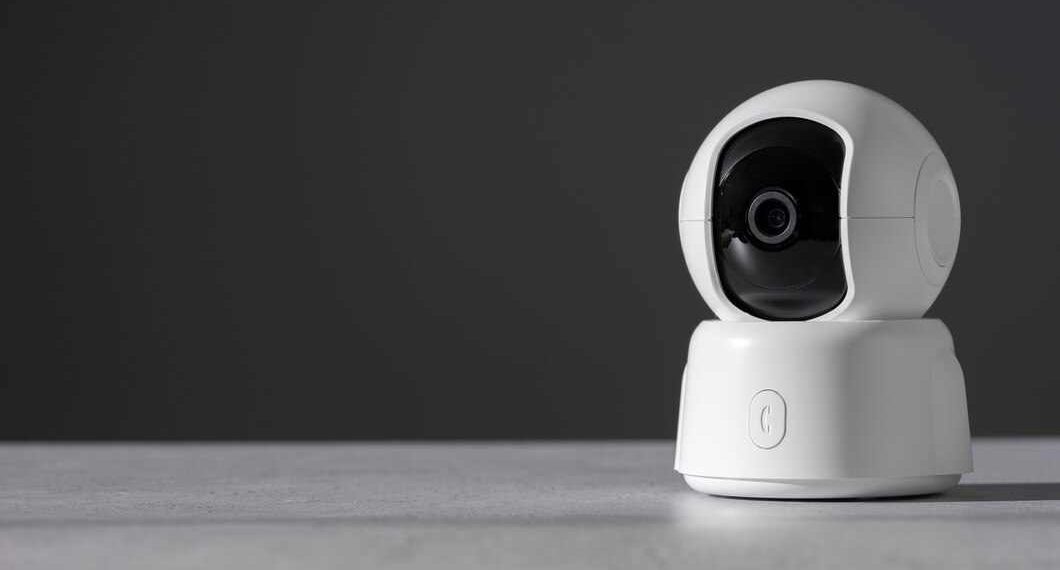
In the evolving landscape of digital surveillance and video production, Pan-Tilt-Zoom (PTZ) cameras stand out for their versatility and ease of use. This guide provides a straightforward approach to setting up a PTZ camera, ensuring beginners can efficiently install and optimize their camera systems for maximum performance. For wired connections, high-quality cables ensure stable and reliable video transmission, as discussed in detail by AudioVideoElectric.
Choosing the Right Location
Selecting the optimal location for your PTZ camera is crucial for achieving comprehensive coverage and high-quality imaging.
Factors to Consider:
- Field of View: Ensure the location offers a wide, unobstructed field of view.
- Height: Mounting the camera at an appropriate height avoids obstructions while providing a broad surveillance area.
- Accessibility: Consider ease of installation and maintenance, ensuring the camera is accessible for adjustments.
Installation Steps
Installing your PTZ camera involves several key steps that ensure a secure and functional setup:
- Mounting the Camera:
- Choose a stable surface or mounting bracket.
- Secure the camera using the provided mounting hardware.
- Adjust the camera to cover the desired area.
- Connecting to Power:
- Connect the camera to a power source using the appropriate power adapter or PoE (Power over Ethernet) if supported.
- Establishing Connectivity:
- Connect the camera to your network via Ethernet cable for IP cameras.
- Ensure proper routing and configuration for network access.
Configuring Your Camera
Proper configuration is essential for optimizing your camera’s performance and functionality.
Key Configuration Steps:
- Access the Camera’s Interface: Use a web browser or dedicated software to access the camera’s settings.
- Configure Network Settings: Set up IP addresses, DNS, and gateway settings to ensure network compatibility and accessibility.
- Adjust Camera Settings:
- Set pan, tilt, and zoom limits.
- Configure presets for commonly used views.
- Adjust image settings such as resolution, brightness, and contrast for optimal video quality.
Enhancing Performance with Tips and Tricks
To maximize your PTZ camera’s effectiveness, consider the following tips:
- Regular Firmware Updates: Keep your camera’s firmware up to date to enhance functionality and security.
- Use High-Quality Cables: For wired connections, high-quality cables ensure stable and reliable video transmission.
- Implement Adequate Security Measures: Protect your camera’s network access with strong passwords and encryption to prevent unauthorized access.
Advanced Setup Tips
Beyond the basic setup, advanced users can enhance their PTZ camera’s capabilities further:
- Integrating with Control Systems: For studios or multi-camera setups, integrating your PTZ camera with a control system can allow for smoother operation and better coordination between cameras.
- Using Advanced Motion Detection: Configure motion detection settings to automate recording and alerts, making surveillance more efficient and responsive.
- Optimizing for Different Environments: Adjust the exposure and white balance settings based on the specific lighting conditions of your environment to maintain high image quality at all times.
Troubleshooting Common Issues
Even with careful setup, you may encounter issues. Here are solutions to common challenges:
- Image Quality Problems: Check for correct configuration settings and ensure the lens is clean and unobstructed.
- Connectivity Issues: Verify network settings, cables, and connections.
- Mechanical Problems: Ensure that the camera is mounted securely and that no parts are loose or obstructing movement.
Conclusion
Setting up a ptz camera may initially seem daunting, but following these structured steps can simplify the process, allowing even beginners to effectively install and configure their cameras. With the right preparation and knowledge, your PTZ camera will become an invaluable tool for surveillance or video production, providing flexibility and high-quality video capture.


