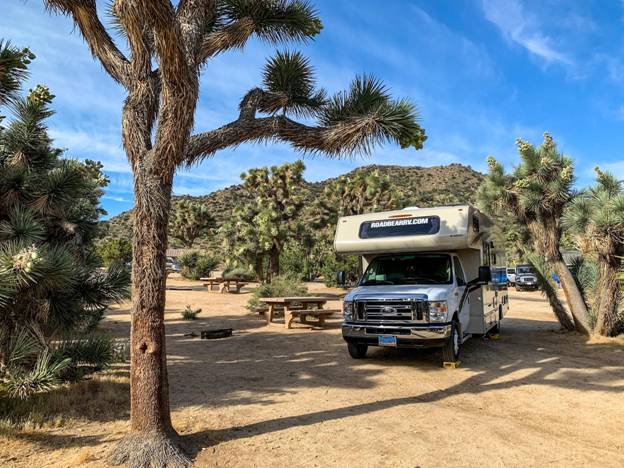
We all know that our RV is more than just a vehicle; it’s our other home but on wheels and our adventure-seeking escape from daily life! Proper and ongoing maintenance is the key to success here. Why? Because an RV roof is subjected to harsh weather conditions, UV rays, and other damaging factors, which can lead to wear and tear over time. That’s why understanding how to find the best RV roof repair materials is essential.
Before diving into the selection of repair materials, it’s crucial to understand the type of roof your RV has. Most RV roofs are made from one of four materials: EPDM, Thermoplastic Olefin (TPO), Fiberglass, or Aluminum. However, this guide will mainly focus on EPDM roofs.
What is an EPDM Roof?
EPDM is a synthetic rubber roofing membrane widely used on RV roofs due to its durability, affordability, and ease of maintenance. It is very resilient to all forms of weather, and with the proper care and maintenance, you can get 15 to 20 years of use out of it.
Why Does Your RV Roof Need Repair?
Over time, your RV’s roof may develop issues that need immediate attention. Common problems include cracks, leaks, holes, and sealant deterioration. When left unchecked, these can result in expensive repairs and extensive water damage. This is why regular roof inspection and maintenance are vital.
Signs That Your RV Roof Needs Repair
Understanding how to identify issues early on is the key to preserving your RV’s roof for years to come.
- Discoloration or Stains: Discoloration can indicate water damage, especially if the spots are brown or yellow.
- Blisters or Bubbles: These often suggest trapped moisture under the roof surface, which can lead to leaks.
- Cracks or Tears: No matter the size of the tear or the crack, these defects can allow water ingress, which can cause expensive damage to your RV.
- Worn or Damaged Sealant: Over time, the sealant around your rooftop fixtures can degrade, leaving areas vulnerable to leaks.
Choosing the Right RV Roof Repair Materials
Selecting the suitable materials for your RV roof repair is fundamental to ensure a long-lasting and effective fix. To better help you decide, let’s take a quick look at the most common RV roof materials that you can use for repairs.
Self-Leveling Sealant
A self-leveling sealant is a versatile material that’s excellent for flat, horizontal surfaces on your RV roof. It spreads out evenly to create a smooth, waterproof seal around fixtures such as vents, air conditioners, antennas, and more.
Non-Sag Sealant
Non-sag sealants are designed for vertical or slanted applications where a self-leveling sealant might drip or sag. They’re perfect for sealing the edges of your roof or areas that require a thicker layer of sealant.
Seal Tape
Seal tape is a heavy-duty adhesive tape that can act as a sealant. It’s ideal for covering long seams or areas that need a quick fix. It works on any roof type and is easy to apply — just roll out the tape and press it firmly onto the surface.
Butyl Tape
Butyl tape is a very pliable adhesive made from butyl rubber that’s often used for installing fixtures on the roof, such as skylights or vents, and is typically covered with another type of sealant for added protection.
Roof Coating
Specialized roof coatings are designed to reseal your RV’s roof and provide years of protection against UV rays and weathering. Some roof coatings, like the ones included in the RV Flex Repair’s One Weekend Restoration Kit, are specifically designed for EPDM roofs, offering superior adhesion and durability.
The DIY Approach to RV Roof Repair
If you’re a handy DIYer, repairing your RV’s roof can be a feasible and cost-effective option. Here’s a step-by-step guide on how to repair your EPDM roof using RV Flex Repair’s One Weekend Restoration Kit.
Step 1: Clean Your Roof
Before starting any repair work, it’s crucial to clean your RV’s roof. Make sure you use a cleaning agent that’s safe for your RV’s roof to remove any dirt and debris.
Step 2: Inspect for Damages
Take the time to look over and inspect the roof of your RV. You’re looking for cracks, tears, blisters, or deteriorating sealant. Don’t forget to check around the rooftop fixtures.
Step 3: Apply the Sealant
Use the provided sealant to seal around all rooftop fixtures, seams, and areas with damage. If you’re using a self-leveling sealant, make sure it spreads out evenly to cover the entire area.
Step 4: Apply the Roof Coating
Once the sealant has dried, apply the roof coating over the entire roof surface. Once you have applied the coating, you can rest easier knowing that your roof now has a new layer of protection against the elements.
An Easier Way: RV Flex Repair’s One Weekend Restoration Kit
If you’re looking for an all-in-one solution for your EPDM roof repair, RV Flex Repair’s One Weekend Restoration Kit is a superb choice. It provides all the materials you’ll need to repair and restore your RV roof in just one weekend.
What’s more, this company also offers a hassle-free warranty. If your product has any issue, RV Flex Repair will replace it or refund it over your RV’s life, ensuring you peace of mind.
Final Thoughts
Your RV’s roof is a crucial part of your vehicle, and maintaining it properly can save you from expensive repairs down the line. By understanding your RV roof type and choosing the right repair materials, you can ensure a successful and long-lasting repair. Don’t forget, by routinely inspecting your RV and correcting any issues early, you’ll be able to enjoy it for years to come. So, don’t neglect your RV’s roof — give it the attention it deserves. Happy RVing!


